Setup
Welcome!
This section of the tutorial will walk you through the inital setup up to the point where you have an exact replica of this tutorial website up and running.
To get started, you will need a Github account. If you don’t already have one, go to www.github.com and create one.
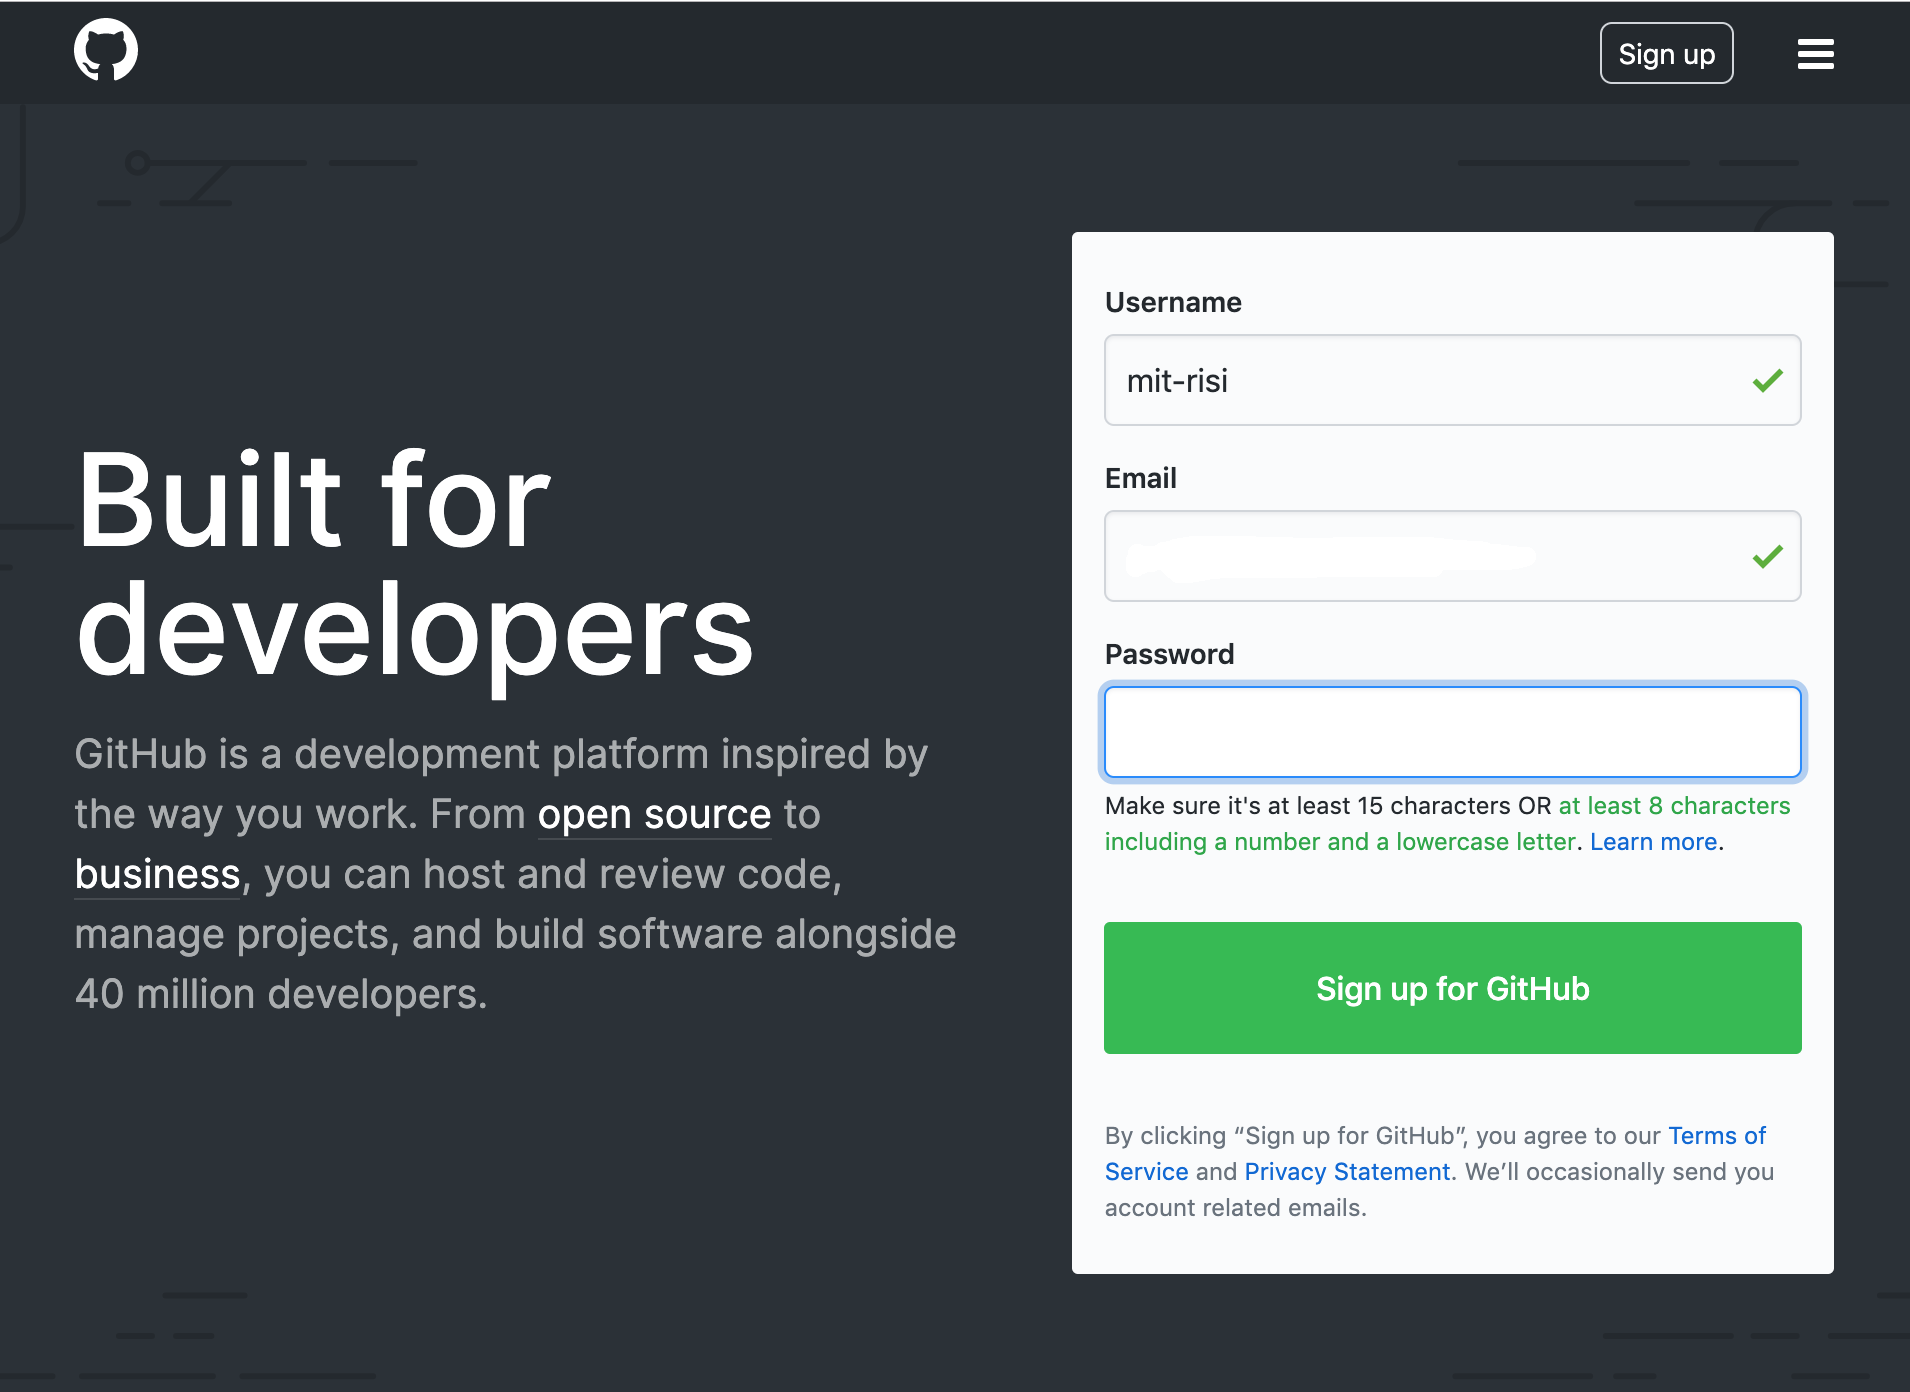
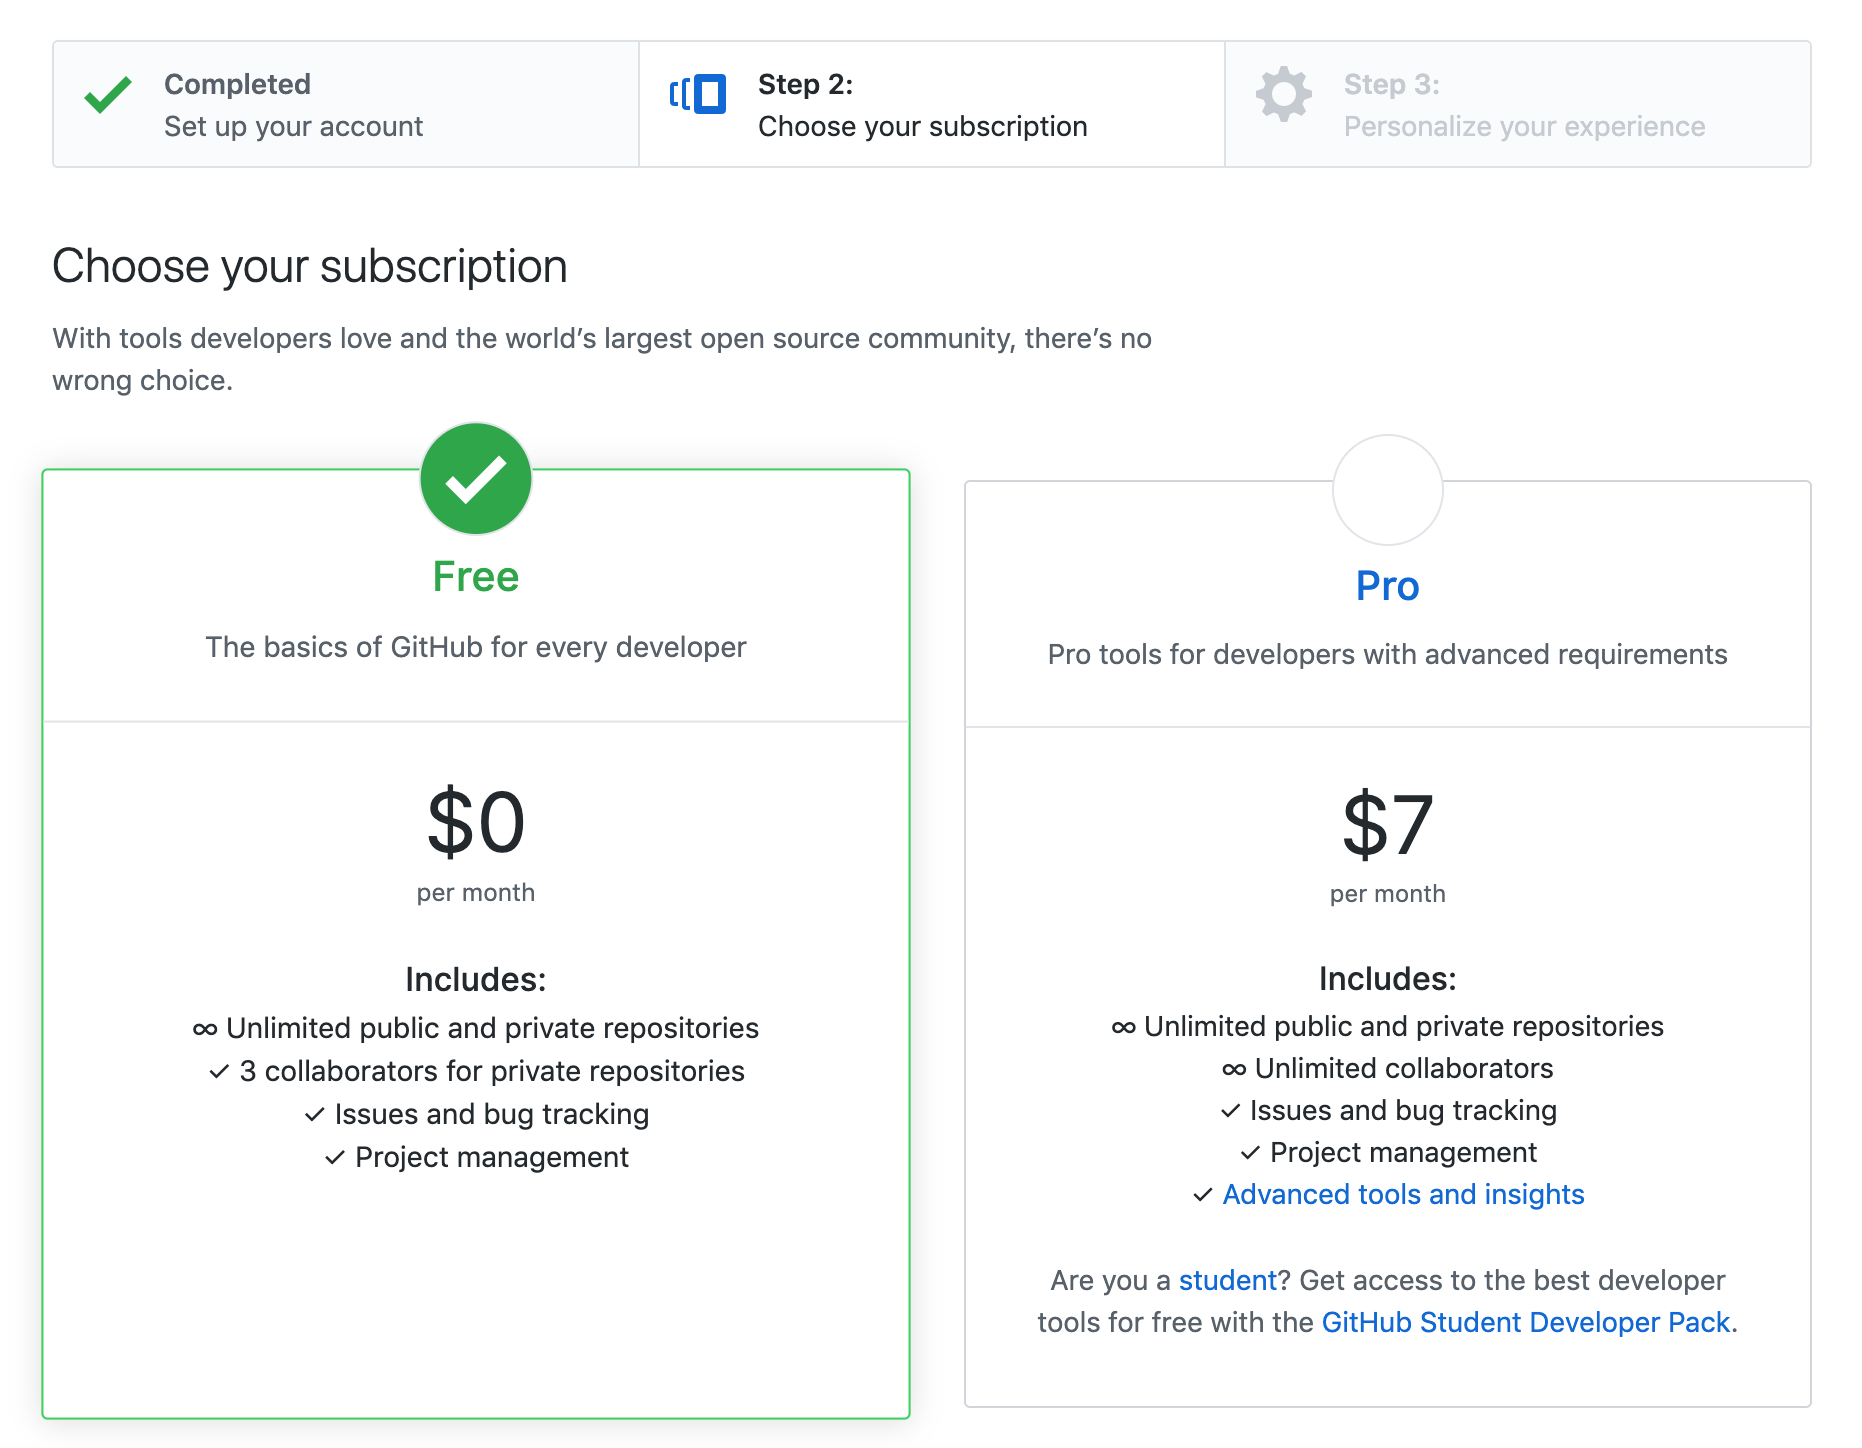
If you’re a student, you can sign up for the student developer pack, which gives you access to a lot of different tools. The free account is also perfectly fine, though.
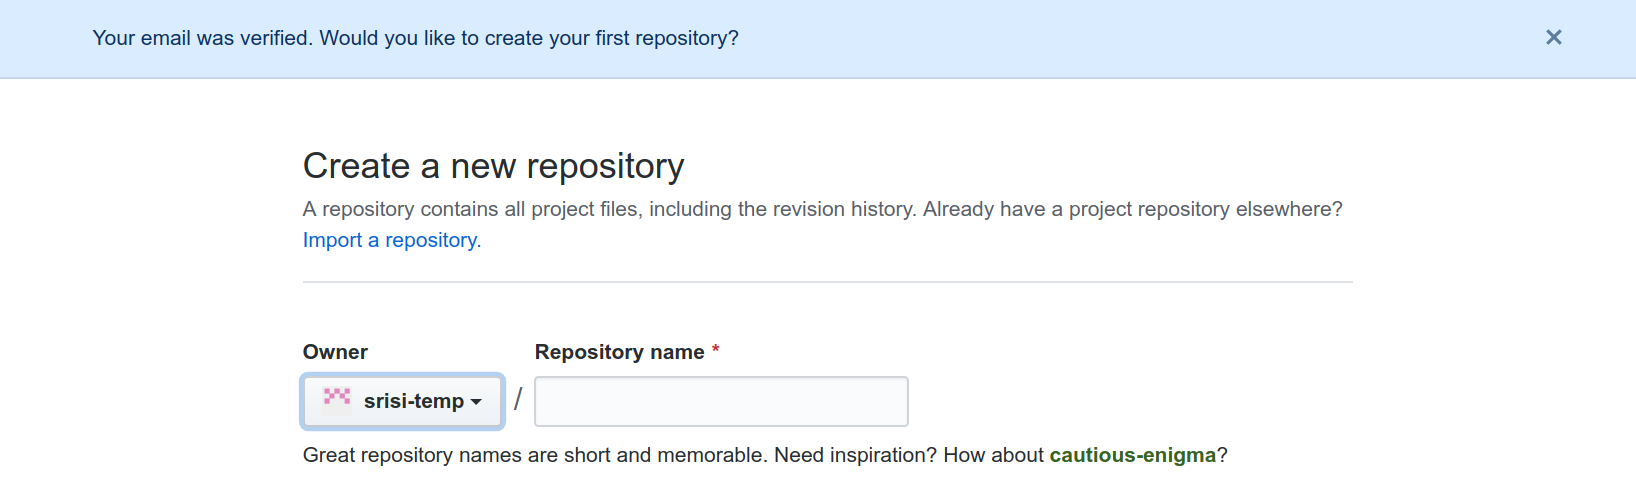
Once your account is set up, Github might ask you if want to create your first repository. “Repository” is Github’s name for a place where you can keep all of the files for one project or one website. However, we’re not going to create a new repository right now, so you can close the dialog box.
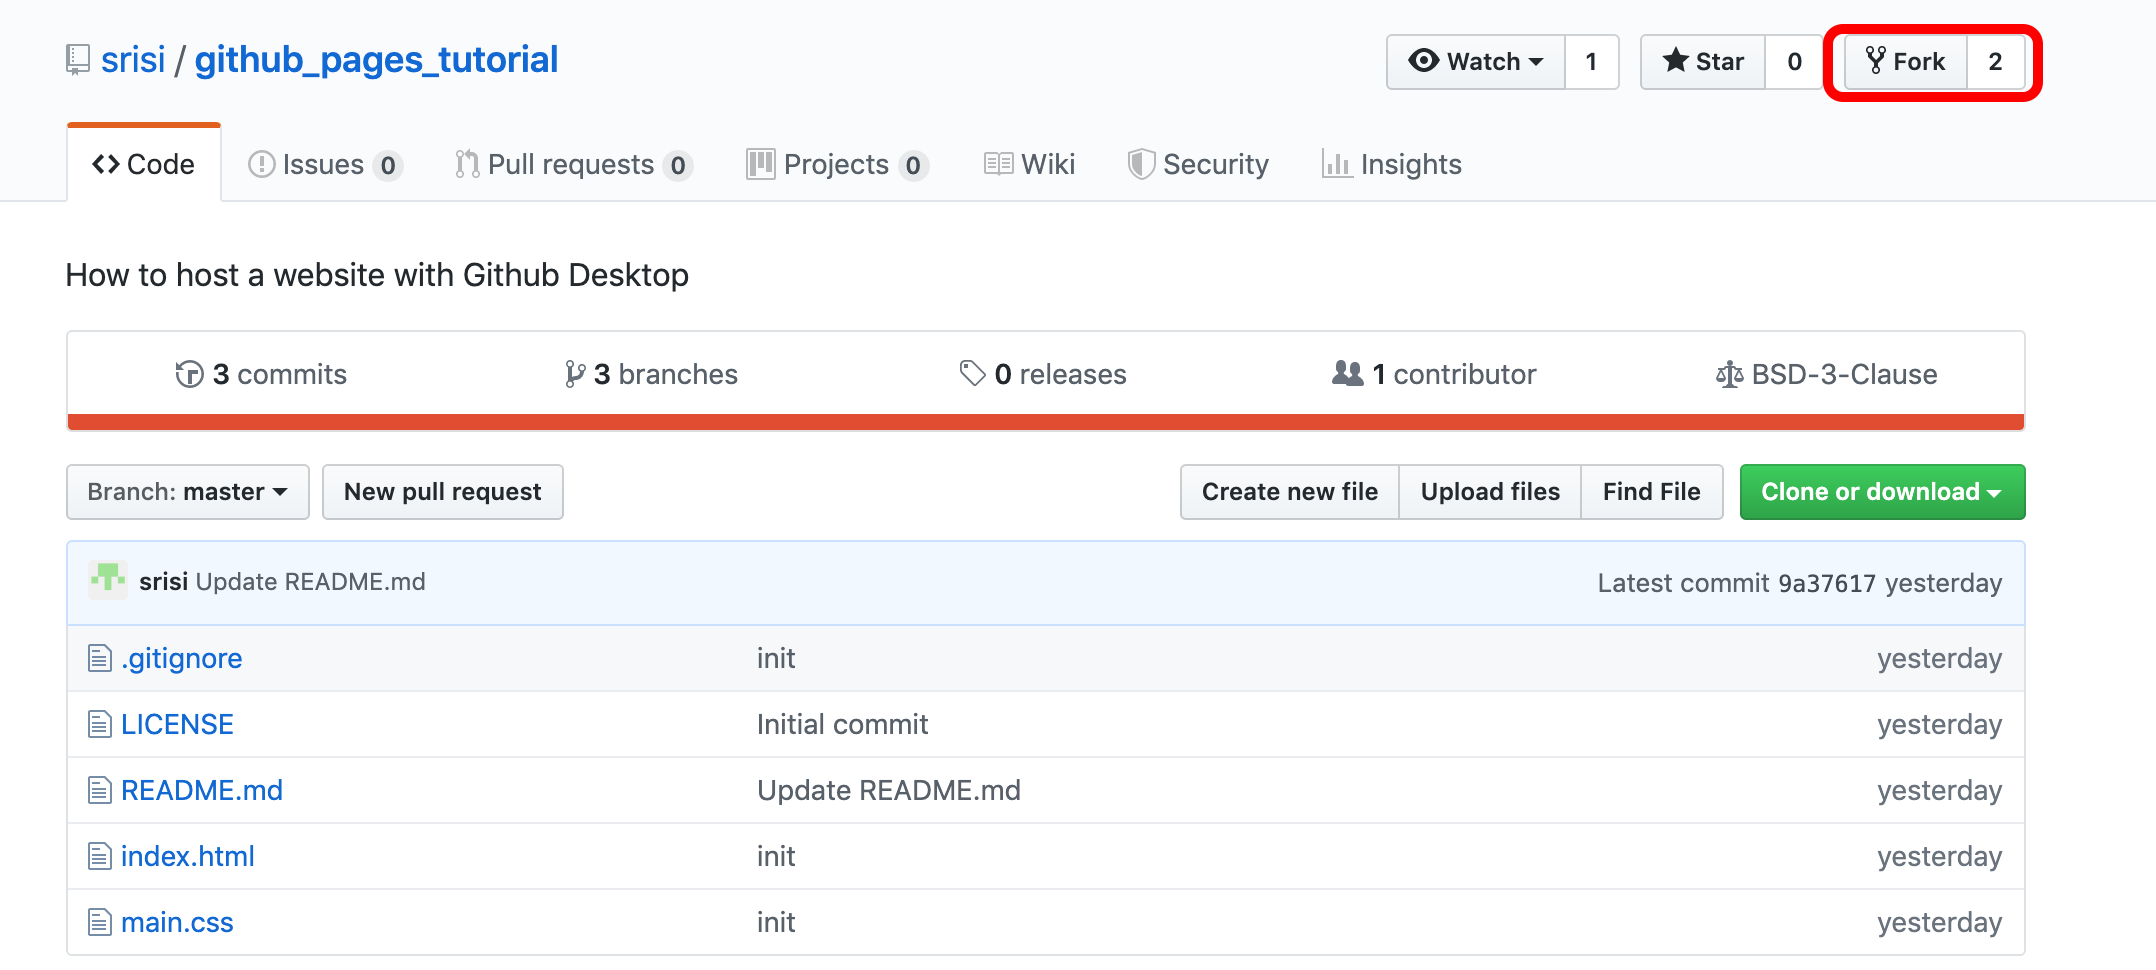
Instead of creating a new repository, we are going to copy the existing tutorial. To do this, go to the Github website for this tutorial and click on the “Fork” button in the top right corner.
Forking means that you’re creating your own copy of the github_pages_tutorial repository, which
you can now edit on your own.
Once the repository is copied, your screen should look like this. Now we just have one step left. We need to rename it. To do this, click on Settings.
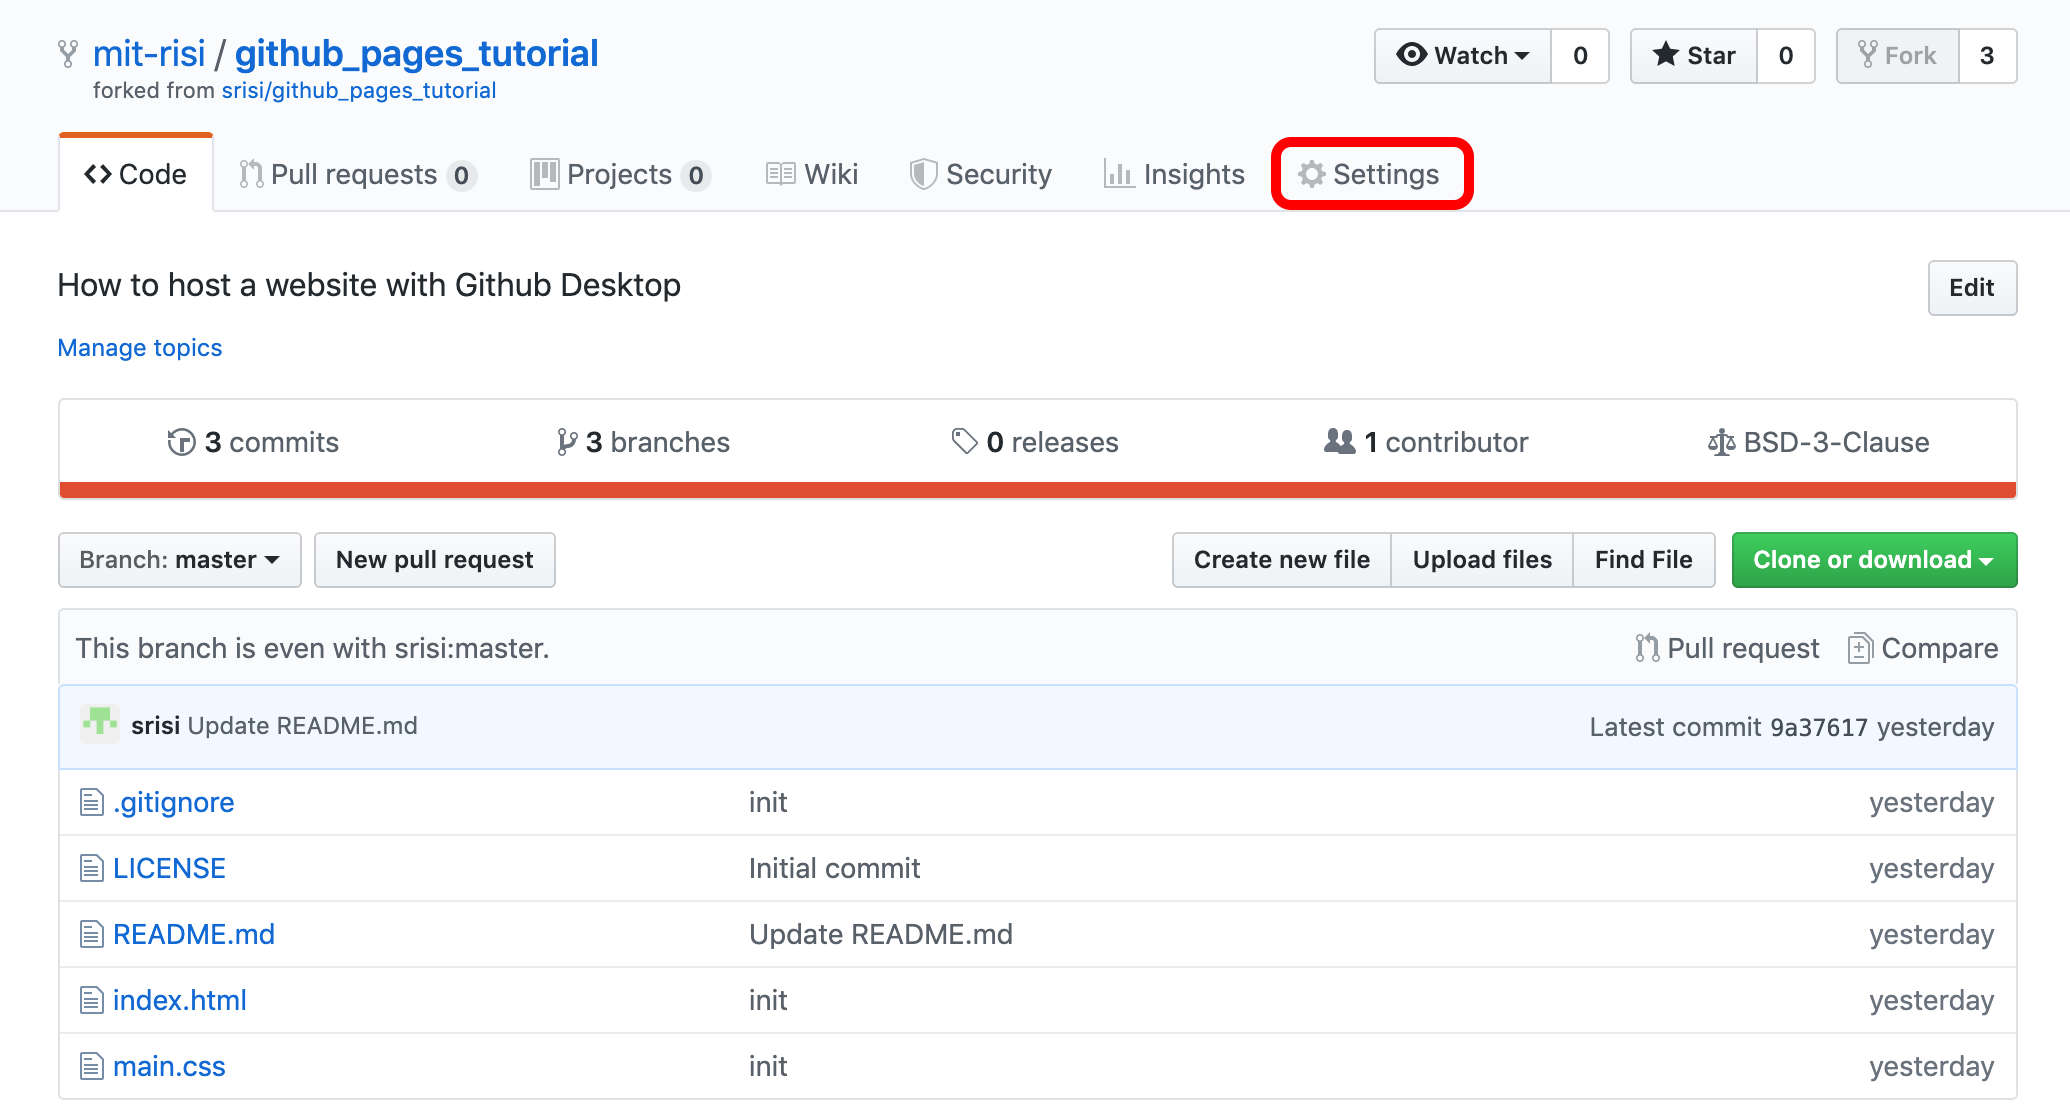
By default, Github assumes that a repository just contains code. To make your new website visible to everyone, we need to follow Github’s naming scheme.
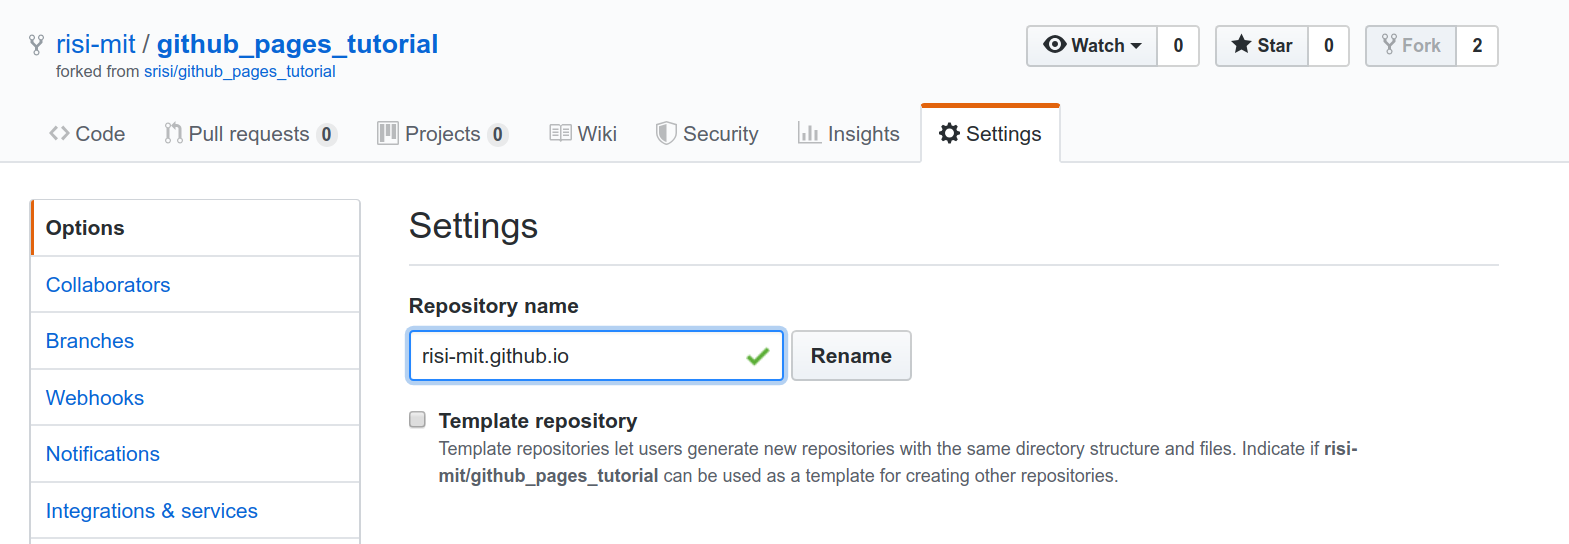
Specifically, you need to rename your repository to <username>.github.io. In my case, it is
mit-risi.github.io.
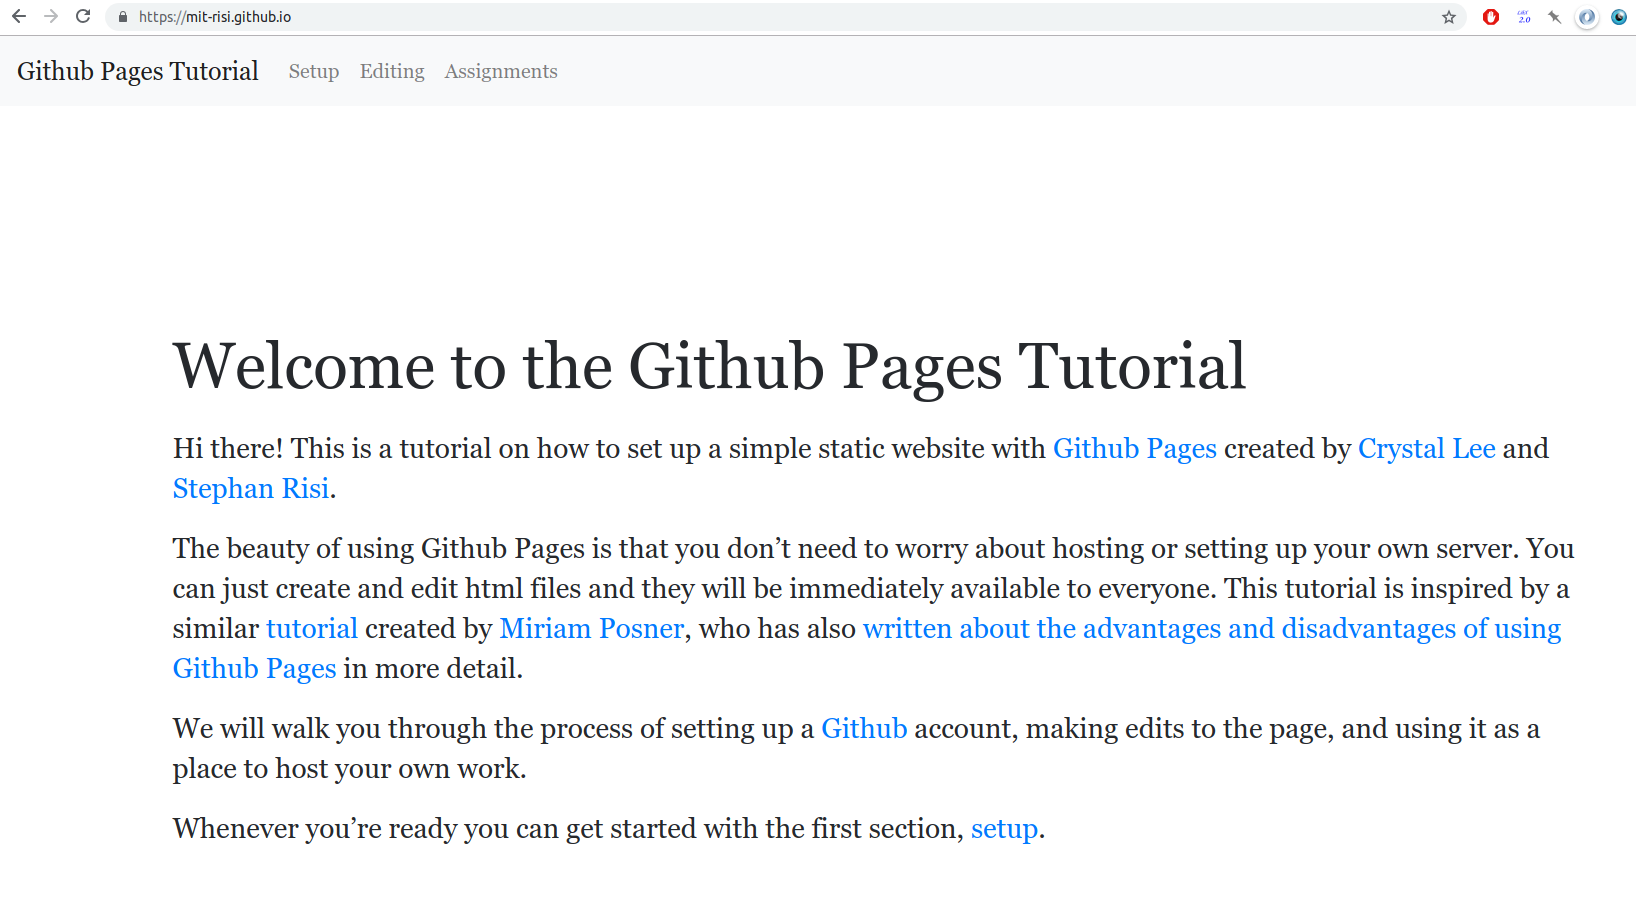
Voila, once this change is applied, your website is ready! It is an exact copy of this tutorial
website ready for you to modify. Go to <username>.github.io to check it out.
In my case, it's mit-risi.github.io
Having a website is fun, but only if you can put your own material on it. Let's look at how to edit it next.