Styling with CSS
What if you want to change how your page looks? Say you want to use different fonts, draw borders around some elements, or even create animations?
This is where Cascading Style Sheets (CSS) come into play. HTML files define what should be displayed on the page. CSS files specify how it should look.
Take our standard heading:
Title
We could make it larger and change the font:
Title
Or we can add a text shadow:
Title
All of our styling information can be found in main.css in the css folder. Here's a small sample from that file:
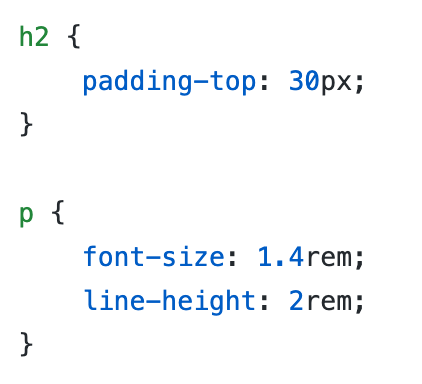
Each component in the css file has two parts: the selector (in green) and the applied styles (in blue).
For example, h2 { padding-top: 30px; } means: Select all h2 (heading2)
elements and add 30 pixels of padding (whitespace) above them.
p {

                    font-size: 1.4rem;

                    line-height: 2rem;

                }
This means: Select all paragraph elements and increase the font size to 1.4 times its default value (16pts) and make each line two default values (2 * 16 pts) high.
If we want to change the font for all paragraphs to Arial, we can just add a third line to this selector:
p {

                    font-size: 1.4rem;

                    line-height: 2rem;

                    font-family: arial;

                }
There is an almost infinite number of modifications that you can make with CSS. W3 Schools has a good tutorial available. Very often, though, the most effective way of finding what you're looking for is to just google for the setting that you need. Want to underline some text? Google "text underline css" and you'll land on the text-decoration property.
Class Selectors
Usually, you don't want to globally change the style of all paragraph or heading elements but rather only those of a select few. You can accomplish this with class selectors. What that means is that you assign classes to the elements that you want to change.
Let's say that we have a blog post with two paragraphs:
            <p>1: Lorem ipsum dolor sit amet, consectetur adipiscing elit, sed do eiusmod tempor
                incididunt ut labore et dolore magna aliqua.</p>

            <p>2: Lorem ipsum dolor sit amet, consectetur adipiscing elit, sed do eiusmod tempor
                incididunt ut labore et dolore magna aliqua.</p>
If we want to change the font for the first paragraph, we can give it the class "font_arial":
            <p class="font_arial" >1: Lorem ipsum dolor sit amet, consectetur adipiscing
            elit, sed do eiusmod tempor
                incididunt ut labore et dolore magna aliqua.</p>

            <p>2: Lorem ipsum dolor sit amet, consectetur adipiscing elit, sed do eiusmod tempor
                incididunt ut labore et dolore magna aliqua.</p>
Adding the class does not do anything on its own. But we can now modify the font for just this class in main.css by adding:
.font_arial {

                    font-family: arial, sans-serif;

                }
Note: to select all members of a class, you need to put a period before the class
name, e.g. .font_arial.
Voila, our two paragraphs now use different fonts:
1: Lorem ipsum dolor sit amet, consectetur adipiscing elit, sed do eiusmod tempor incididunt ut labore et dolore magna aliqua.
2: Lorem ipsum dolor sit amet, consectetur adipiscing elit, sed do eiusmod tempor incididunt ut labore et dolore magna aliqua.
Interactive Experiments
If you just want to experiment with ideas, interactive developer tools are your friend.
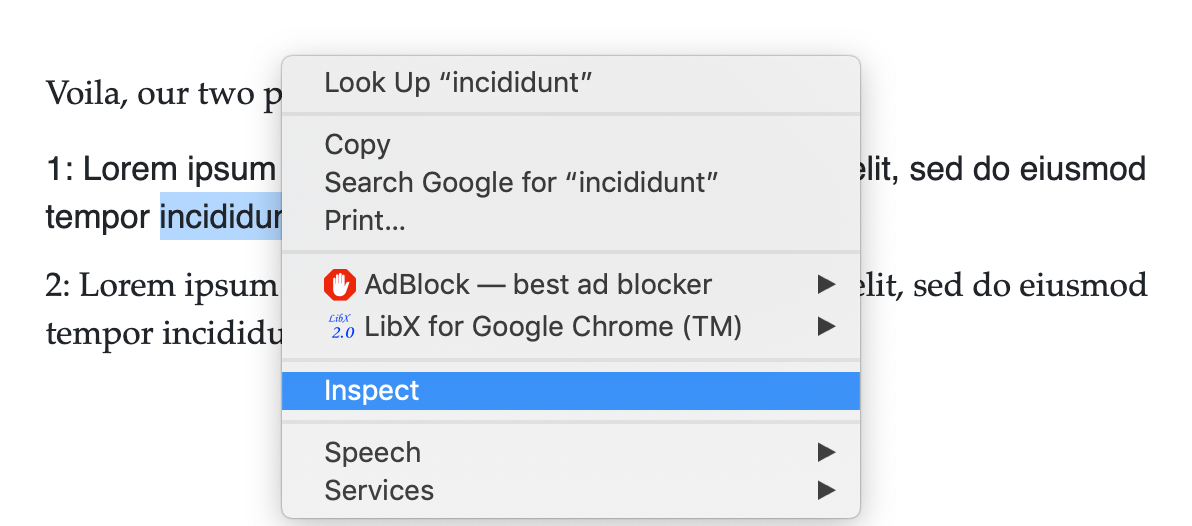
To access the developer tools in Chrome, right click on an element that you want to change and select "Inspect."
This will open the developer tools
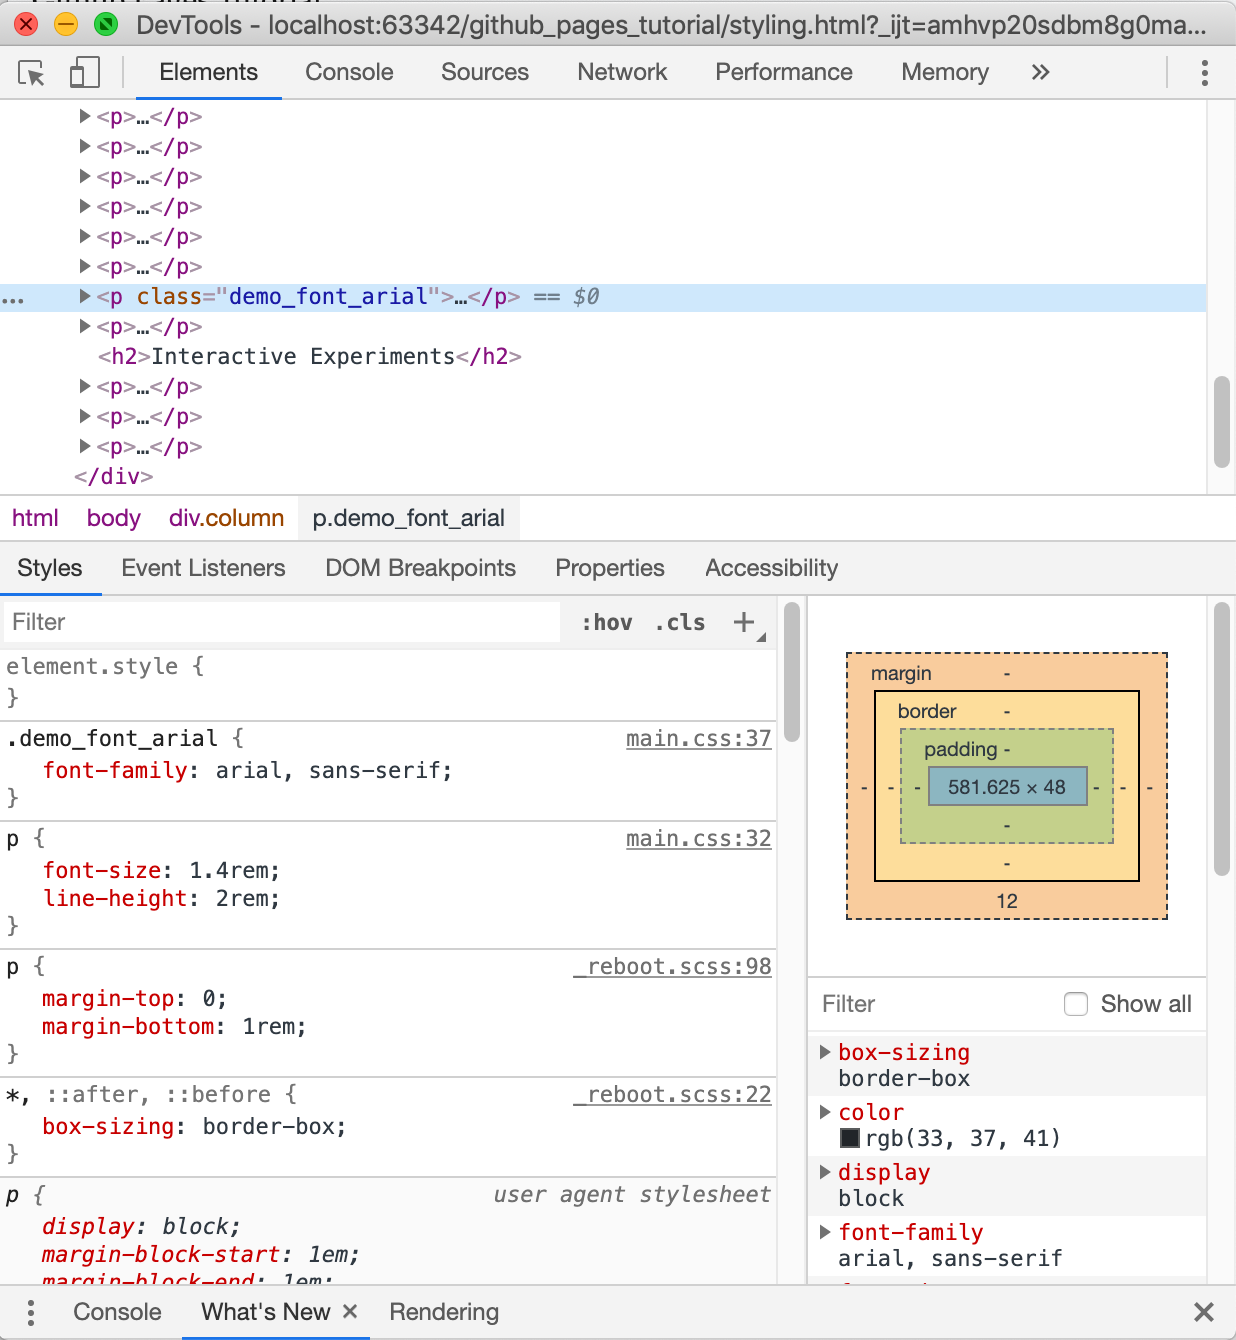
At the top, you can see the element that we have currently selected--the paragraph with the arial font.
If we want to experiment with further changes, we can just click in the .demo_font_arial box and start to modify it:

The developer tools are very helpful because they give us suggestions about what we might modify. For example, if you start typing "font", you will get the following suggestions:
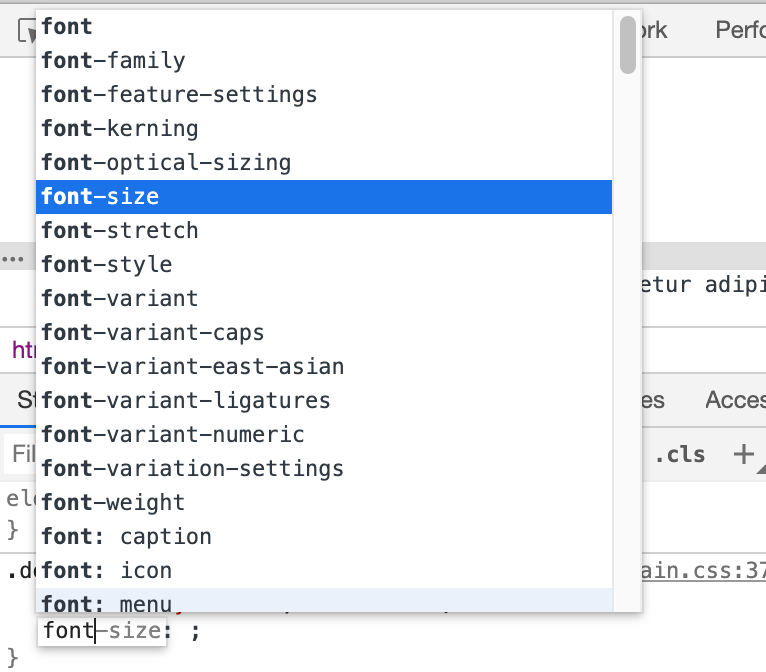
If we want to make the paragraph bold, we can use font-weight: bold;
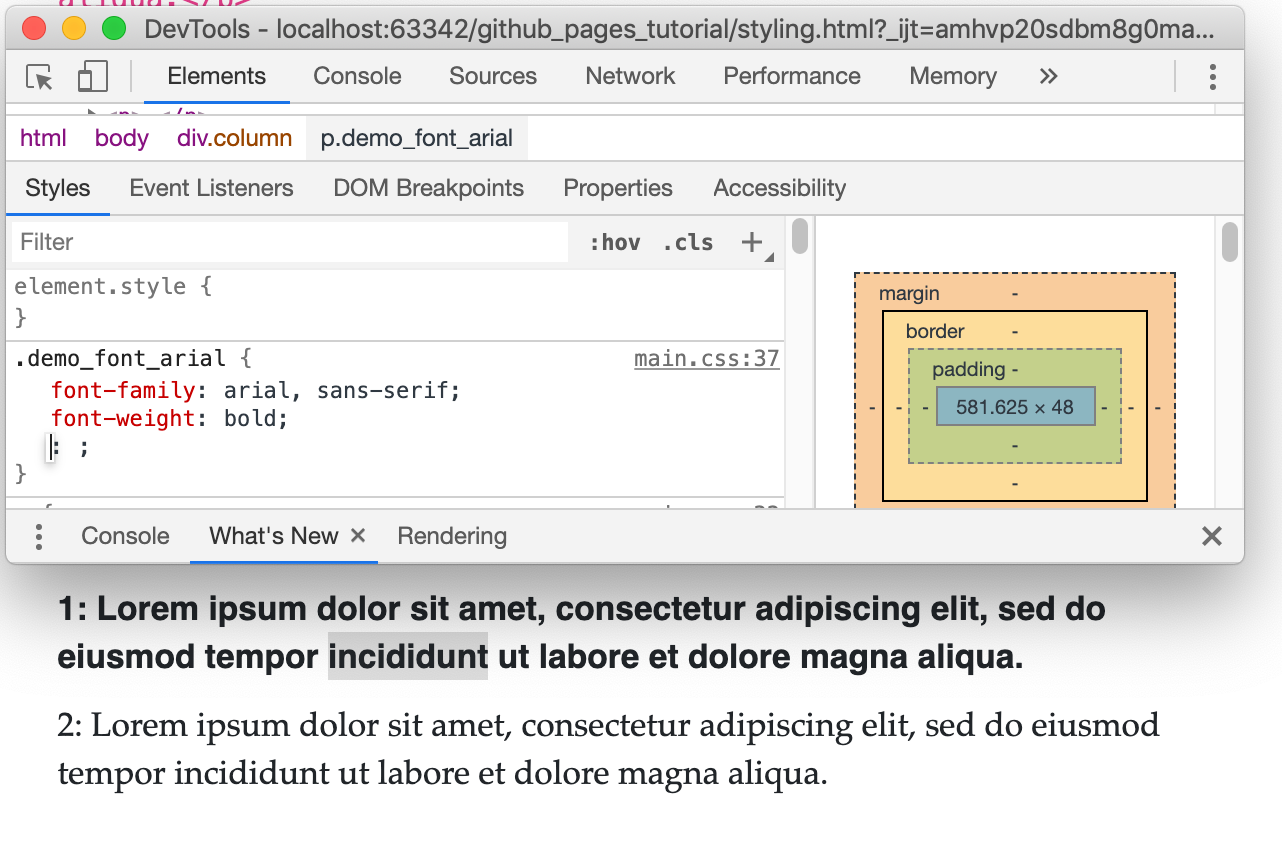
And voila, our text is now bold.
Note that all of the changes made in the developer tools are temporary. They will vanish when you reload the page. If you want them to persist, you need to make the same changes to your css file:
.font_arial {

                    font-family: arial, sans-serif;

                    font-weight: bold

                }
That should get you started with CSS styling. Have fun exploring!